Photo Genres
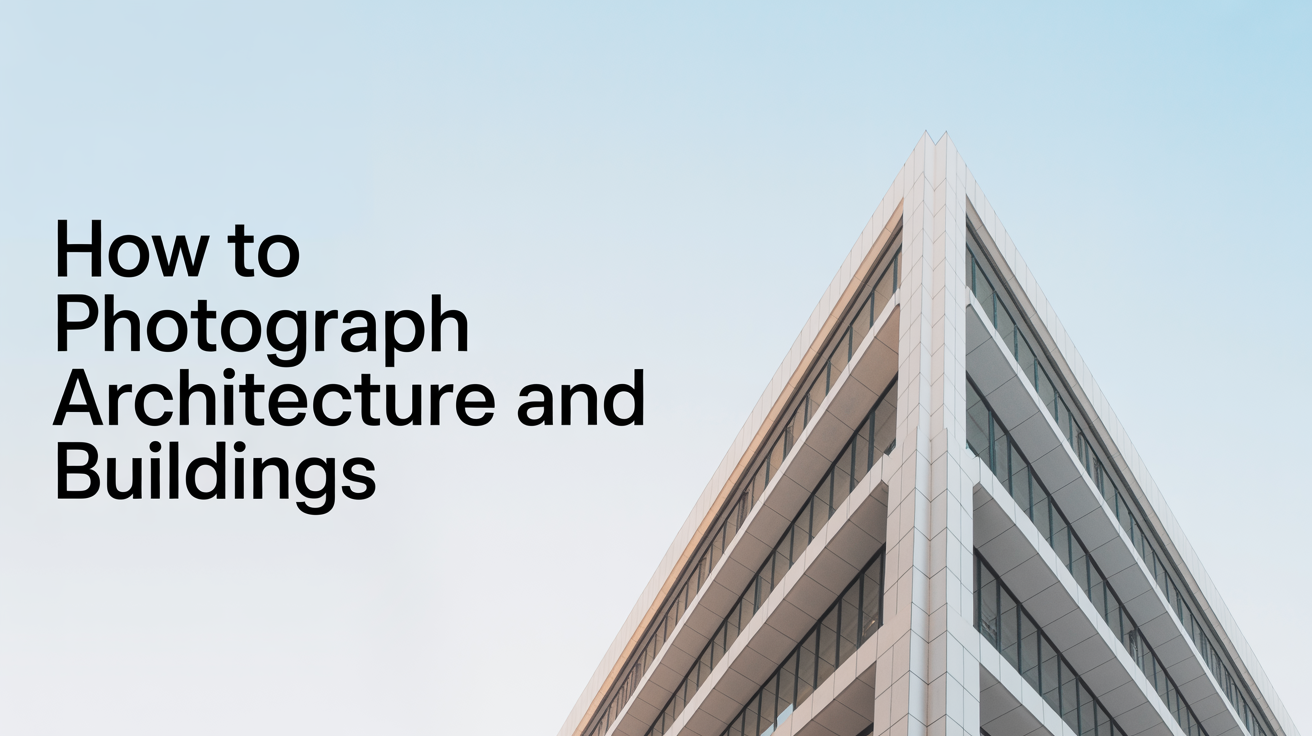
How to Photograph Architecture and Buildings
Learn how to photograph buildings with better light, cleaner lines, and stronger composition: a practical guide for beginners with any camera.
Photographing buildings looks simple until you review your shots and notice the walls are leaning inward, the sky is blown out, and the whole thing looks flat. None of that is a camera problem. It comes down to light timing, shooting position, and a couple of easy corrections in post. Here is how to sort each one out.
Why Buildings Look Distorted (and How to Fix It)
The most common problem in architecture photography is converging verticals: when vertical lines like window edges or building corners appear to tilt inward toward the top of the frame. It happens because you're pointing the camera upward to fit a tall structure into the frame. The geometry is the same reason two parallel train tracks look like they meet in the distance: perspective.
Keystoning is the visible result. The building looks like a trapezoid instead of a rectangle.
You have two ways to reduce it:
- Step back and keep the camera level. If you can get far enough away to fit the building in frame without tilting up, the verticals stay parallel. This is the cleanest fix and requires no editing.
- Correct it in post. Every free editor (Lightroom Classic, Lightroom mobile, Snapseed, GIMP) has a lens correction or perspective crop tool. Drag the vertical sliders until the building edges are plumb. You lose some edge pixels in the crop, so shoot a bit wider than you need.
A third option used by professional architecture photographers is a tilt-shift lens, which physically shifts the optical axis instead of pointing the camera up. These are expensive and specialized. You do not need one to get good results.
When to Shoot for the Best Light
Light is the single biggest variable in how a building looks in a photo. Most buildings face in one direction, so the quality of light on the facade changes dramatically through the day.
Golden hour (the first and last hour of sunlight) gives warm, directional light that creates shadows along window frames, cornices, and decorative details. Those shadows are what make architecture look three-dimensional instead of flat. A building photographed under noon sun tends to look washed out because the light hits it straight on with no shadow to reveal texture.
Blue hour (15 to 30 minutes after sunset) works especially well for buildings with lit interiors. The sky turns deep blue, the interior lights come on, and the exposure balances in a way that is almost impossible to achieve in daylight. You will need a tripod at blue hour because shutter speeds slow down considerably.
Overcast days kill harsh shadows but flatten the light. Interior shots benefit from cloud cover; exterior shots of very ornate facades can also work because you see detail everywhere without blown highlights. For most plain modern buildings, overcast light produces dull results.
Before you go, check which direction the facade faces. Use a compass app or Google Maps satellite view. A south-facing building gets the most direct sun at midday; an east-facing building is lit well in morning; west-facing in afternoon. Plan accordingly.
Composition: Lines, Symmetry, and Angle
Buildings are full of built-in composition tools. The challenge is deciding which ones to use.
Leading lines are lines that pull the viewer's eye through the frame. In architecture that includes colonnades, road edges, fences, shadow lines along overhangs, and the converging lines of a long corridor. Position yourself so a strong line runs from one corner of the frame toward the subject. See the full approach in our guide to using leading lines in photography.
Symmetry reads as order and scale. Many civic buildings, churches, and modern towers are designed to be symmetrical, and centering the camera on the axis of symmetry can feel powerful. Even slight off-center framing can look accidental rather than intentional, so commit fully to the center when you go symmetrical. We cover this technique in more depth in using symmetry and patterns in your photos.
Angle of approach changes the character of a building completely.
| Approach | Effect |
|---|---|
| Straight on, camera level | Clean, formal, graphic |
| Diagonal (corner visible) | Shows depth, feels dimensional |
| Low angle, slight tilt up | Makes building feel tall, imposing |
| High angle (from a nearby parking structure or hill) | Shows rooftop details, context in surroundings |
Try at least two of these before leaving a location. The straight-on shot is often the cleanest, but the diagonal often tells more about the building's mass.
Lens Choice for Building Photography
You do not need a specialized lens to photograph buildings, but the choice matters.
Wide-angle lenses (roughly 16mm to 28mm on full-frame, or 10mm to 18mm on a crop sensor) let you fit large buildings in frame from close distances. The trade-off is distortion near the edges of the frame, particularly with very wide angles. Barrel distortion makes straight lines bow outward. Most editing software corrects this automatically using lens profile data, but check that the correction is applied.
Standard primes (around 35mm or 50mm) produce less distortion and often render buildings more faithfully to how they actually look. The compromise is that you need more physical distance to fit a large structure in frame. In tight urban settings this can mean standing in traffic, which is not practical.
Short telephoto lenses (85mm to 135mm) compress perspective and can isolate details like facades, archways, or decorative panels without distortion. These work well for partial shots rather than full-building coverage.
For most beginners, a kit zoom in the 18-55mm range covers everything you need. Use the wider end for full buildings, the longer end for details, and correct distortion in post. For more on how different focal lengths behave, see our guide to camera lenses explained: prime vs. zoom.
Practical Settings to Start With
These are starting points, not rules. Adjust based on what you see.
- Aperture: f/8 is a solid default for buildings. It gives sharp focus from foreground to background without diffraction softness. Wide open apertures (f/1.8, f/2) rarely make sense for architecture unless you are isolating a detail intentionally.
- ISO: Keep it as low as your light allows. Buildings are static subjects, so use a slower shutter speed rather than raising ISO unnecessarily.
- Shutter speed: Anything faster than 1/60s is fine handheld in decent light. In low light, use a tripod and drop to 1/10s or slower.
- Shoot RAW if your camera allows it. Perspective corrections, exposure adjustments, and highlight recovery all work better from a RAW file than a JPEG.
Frequently Asked Questions
Do I need a wide-angle lens to photograph architecture? Not necessarily. A kit zoom (18-55mm) covers most situations. Wide angles let you shoot from closer in tight spaces, but they also increase distortion. A 35mm or 50mm prime produces very clean results if you have room to step back.
How do I fix tilted, leaning building walls in editing? Use the perspective or geometry correction tool in your editor. Lightroom has a dedicated Geometry panel; Snapseed has a Perspective tool. Drag the vertical correction slider until the walls look plumb. You will lose some edge pixels, so always crop a little wider in camera to give yourself room.
What is the difference between converging verticals and barrel distortion? Converging verticals happen because of camera angle: point the camera up, and vertical lines appear to lean inward. Barrel distortion is a lens characteristic: straight lines near the edges of the frame bow outward. Both can appear in the same shot. Lens correction fixes barrel distortion; perspective correction fixes converging verticals. They are separate sliders in most editors.
When is the best time of day to photograph buildings? It depends on which direction the facade faces, but golden hour (first and last hour of sunlight) almost always produces better results than midday because the light is directional and warm rather than flat and harsh. Blue hour works particularly well for buildings with lit interiors.
My building photos always look flat. What am I doing wrong? Flat photos usually come from flat light (midday or overcast) combined with a straight-on angle. Try shooting the same building at golden hour from a diagonal position so you can see two sides of the structure. The combination of directional light and visible depth almost always produces a more interesting image than a front-on midday shot.