Composition
How to Use Leading Lines in Photography
Learn how to use leading lines in photography to draw the eye, add depth, and compose stronger shots as a beginner.
You take a photo of a long road stretching toward mountains. The shot feels flat. You take a second photo, crouching low and pointing the camera so the road fills the frame from corner to corner. Suddenly it looks like a real photograph. The difference? Leading lines.
Leading lines are one of the most reliable tools in composition. Once you understand what they are and how to spot them, you will start seeing them everywhere, and your photos will feel more intentional almost immediately.
What Leading Lines Actually Are
A leading line is any line in a scene that pulls the viewer's eye through the frame, usually toward a main subject or a point of interest. Roads, fences, rivers, staircases, shadows, light beams, and even rows of trees all count.
The human eye follows lines instinctively. When a strong line appears in a photograph, the eye tracks it. If you place that line so it guides the viewer toward your subject, you are doing exactly what leading lines in composition are meant to do: controlling where attention goes.
This is different from random lines in a scene. A power line cutting across the background at a random angle is visual noise. A path curving toward a person sitting on a bench at the far end of the frame is a leading line with purpose.
Where to Find Leading Lines
You do not have to travel anywhere special. Leading lines show up everywhere once you are looking for them. Here are the most common places to practice:
- Roads and footpaths. Even a narrow sidewalk can work. Get low, point the camera along the path, and let it lead into the distance.
- Fences and walls. A wooden fence stretching across a field gives you a strong horizontal or diagonal line depending on your angle.
- Shorelines and riverbanks. Water edges curve naturally and create gentle S-curves (more on those in a moment).
- Staircases and railings. Both indoor and outdoor stairs give you converging lines with built-in depth.
- Train tracks. Classic for a reason. The rails converge at the horizon and immediately suggest distance.
- Light and shadow. Stripes of sunlight through blinds or shadows from a row of columns act as lines even though nothing physical is there.
- Architecture. Corridors, rows of columns, bridges, and archways all generate strong lines you can use.
- Natural elements. Rows of crops, a line of trees, waves rolling in at an angle, a river bending through a valley.
Start by picking one location and looking for lines before you raise the camera. Ask yourself: where do my eyes go first, and where do they end up?
How to Position Yourself for Stronger Lines
Finding a line is step one. Positioning your camera so the line actually works in the frame is step two, and it requires moving your feet.
The most common mistake beginners make is standing at full height and shooting down. Lines that look strong in real life often flatten out when photographed from eye level. Try these adjustments:
Get lower. Crouching or even lying on the ground exaggerates lines dramatically. A garden path becomes a runway. A low angle also makes your subject at the end of the line feel more significant.
Choose your entry point. Where does the line enter the frame? Leading lines photography works best when the line starts from a corner or a lower edge of the frame, not the center. A line entering from the bottom-left corner and curving toward a subject in the upper third follows a natural reading pattern and feels balanced. Pairing this with the rule of thirds (which you can read about in The Rule of Thirds (and When to Break It)) gives you a solid compositional foundation.
Point lines toward your subject. The line should do something. If you have a winding path and a person at the end of it, frame the shot so the path leads directly to that person. If the path curves off to the side and the person is somewhere else in the frame, the composition fights itself.
Converging Lines and the Feeling of Depth
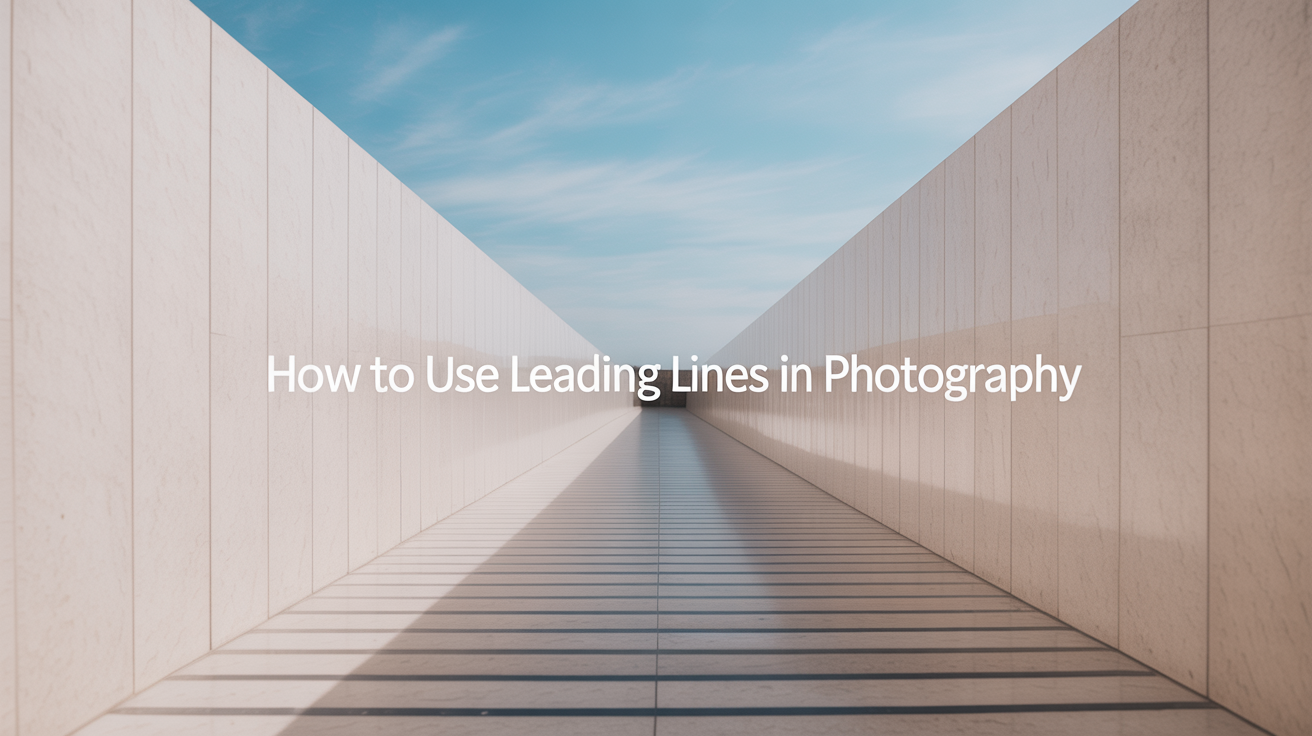
One of the most powerful effects of leading lines in photography is creating depth in a flat, two-dimensional image. This happens through perspective convergence: parallel lines in real life (like train tracks or a straight road) appear to get closer together as they recede into the distance, meeting at a point on the horizon called the vanishing point.
When you include converging lines in a photo, the brain reads that pattern as depth. The image stops looking flat and starts feeling like you could walk into it.
To make this work, you generally need to be close to the lines and shoot along them, not across them. Standing between two rows of trees and pointing your camera down the row gives you strong convergence. Standing 30 meters away and shooting the same trees at a right angle gives you parallel vertical shapes with no depth cue.
Diagonal Lines vs. S-Curves: Different Moods
Not all leading lines feel the same. The shape of the line changes the mood of the image.
Diagonal lines feel dynamic and energetic. A road cutting across the frame at a 45-degree angle suggests movement and tension. Street photographers often use diagonals to add urgency to a scene.
S-curves feel calm and flowing. A river winding through a landscape, a path curving through a garden, a stretch of beach that bends gently. S-curves guide the eye through the frame in a relaxed way and are often associated with peaceful, scenic photography. They also work beautifully with framing techniques like natural frames to layer depth and draw attention to a distant subject.
Converging straight lines (like train tracks) feel almost architectural. They create a sense of scale and distance more than they suggest speed or calm.
Knowing this lets you make a choice. If you want a serene landscape, look for curves. If you want an energetic urban shot, chase diagonals.
Common Mistakes to Avoid
Lines leading out of the frame. A line that enters from one corner and exits through another without pointing at anything is a distraction. The viewer's eye gets pulled out of the image entirely. Always check where your lines go before shooting.
Lines that compete with each other. Multiple strong lines going in different directions create confusion. Pick the dominant line and adjust your position until it reads clearly.
Ignoring the subject. Leading lines are a means to an end. The line should serve the subject, not replace it. If you get so caught up in the line that you forget to think about what it's pointing at, the composition has no payoff. You can also combine leading lines with negative space to give the subject breathing room once the eye arrives there.
Forcing it. Not every scene has strong leading lines, and that is fine. Composition is a toolkit, not a checklist. Use leading lines when they are genuinely there, not when you are bending the scene to fit the technique.
A Simple Practice Exercise
Pick one outdoor location this week. Before you take a single photo, spend five minutes just walking around and looking for lines. Do not touch your camera yet. Notice what your eyes follow naturally. Then photograph three different lines from three different positions each. Get low, get high, shoot along the line, shoot across it. Review the results at home and notice which positions made the line feel strongest.
This kind of deliberate looking, before you shoot, is the habit that separates photographers who improve quickly from those who stay stuck.
Frequently Asked Questions
Do leading lines have to be straight?
No. Curved lines, S-curves, and diagonal lines all work as leading lines. What matters is that the line guides the viewer's eye toward a point of interest rather than leading it nowhere or out of the frame.
Can I create leading lines in any type of photography?
Yes, though it is easier in some genres than others. Landscape, street, architecture, and portrait photography all offer natural leading lines. In product or macro photography, lines tend to be smaller in scale but the same principle applies.
What if my scene has lines but no obvious subject?
Try placing your subject at the point where the lines converge or end. Even a small subject at the end of a strong line reads clearly because the composition has already focused the viewer's attention there.
Does the line have to touch the edge of the frame?
Not always, but it helps. Starting a line from a corner or the bottom edge of the frame gives it a natural entry point that feels anchored. A line floating in the middle of the frame without connecting to an edge can feel disconnected.
How is this different from the rule of thirds?
The rule of thirds is about where you place your subject. Leading lines are about how you guide the eye to that subject. They work together well: position your subject on a third-grid intersection and use a line to pull the viewer toward it.