Light & Exposure
How to Shoot Blue Hour Photos Before Sunrise or After Sunset
Learn what blue hour photography is, how it differs from golden hour, and the camera settings and timing that make deep blue twilight shots work.
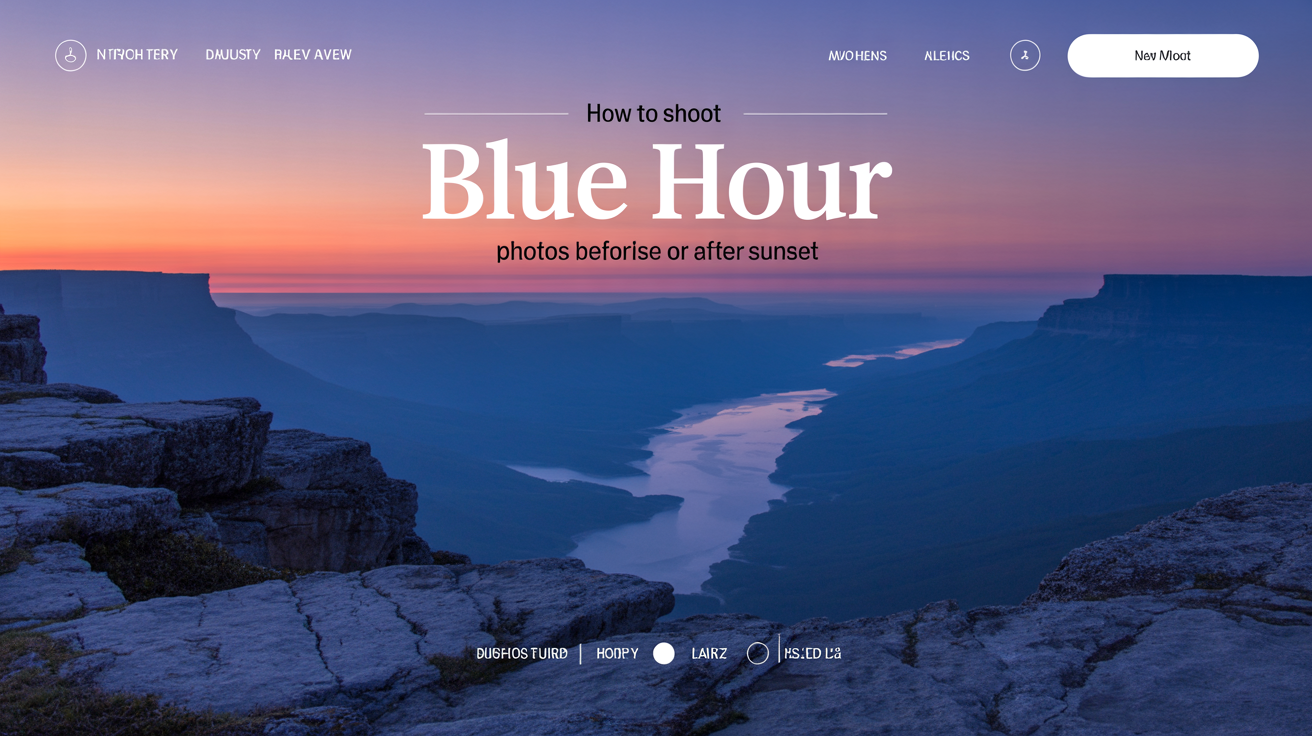
Golden hour gets all the attention, but the window on the other side of it deserves just as much of your time. Blue hour photography happens when the sun has dropped below the horizon (or hasn't quite reached it yet) and the sky settles into a deep, even blue that no filter can fake convincingly. It's quieter than golden hour, easier to predict once you know what to look for, and it rewards patience more than gear.
If you've only shot in daylight or chased the orange glow of sunset, blue hour will feel like a different hobby. The light behaves differently, your settings change, and the subjects that shine are different too.
What Makes Blue Hour Photography Different
During the day, sunlight travels a short, direct path through the atmosphere, which is why midday skies read as a bright, neutral blue. At sunrise and sunset, the sun sits low enough that its light travels through far more atmosphere, scattering out the blue wavelengths and letting red and orange dominate. That's golden hour.
Blue hour is the phase just before or after that, when the sun is entirely below the horizon but still lights the upper atmosphere indirectly. The direct warm light is gone, but the sky itself keeps glowing with blue and violet light bouncing down from high above. There's no sun in the frame, no harsh shadows, and no orange cast fighting your white balance, which also makes it more forgiving to shoot than golden hour. You don't have to chase an exact angle before the light disappears.
Blue Hour vs Golden Hour: What Actually Changes
It helps to see the two side by side, since beginners often assume blue hour is just "golden hour without the color."
| Golden Hour | Blue Hour | |
|---|---|---|
| Sun position | Just above the horizon | Below the horizon |
| Dominant color | Warm orange, gold, pink | Cool blue, violet |
| Light direction | Strong, directional, casts long shadows | Soft, diffuse, almost shadowless |
| Best for | Portraits, backlit subjects, warm landscapes | Cityscapes, skylines, architecture, water |
| Shooting difficulty | Fast-changing, narrow window | Longer, more forgiving window |
| Typical shutter speed | Often handheld-friendly | Usually needs a tripod |
The mood is the biggest difference. Golden hour photos tend to feel warm and romantic. Blue hour photos feel calm, a little melancholic, and almost cinematic, especially once artificial lights start competing with the sky.
When to Show Up (Without a Stopwatch)
Exact blue hour timing depends on your latitude, the season, and even local weather, so treat any fixed number of minutes with suspicion. In the evening it starts once the sun has fully set and the sky still holds color, then fades as the sky moves from deep blue toward black. In the morning it's the mirror image, running before the sun breaks the horizon.
Closer to the equator, this transition happens fast, sometimes over in a matter of minutes. Farther north or south, especially in spring and fall, it can stretch out considerably longer. Rather than memorizing a clock time, watch the sky itself: once the orange of sunset has faded and it reads as a rich, saturated blue rather than gray or black, you're in it. A weather app with a sunset or sunrise time is a fine starting point, but arrive early, stay late, and scout your spot in daylight if you can.
Settings That Work for Blue Hour
The low light level is the main technical challenge, and almost every setting decision flows from that.
Use a tripod. Blue hour shutter speeds commonly run from a full second to 10 seconds or longer, especially once true darkness sets in, which is far past what you can hold steady by hand. If you're still deciding whether it's worth carrying one around, our beginner's guide to tripods walks through when you need one and what to look for in a first purchase.
Keep ISO low. Since your camera is locked to a tripod, there's rarely a good reason to raise ISO to compensate for the dim light. A low ISO (100 to 400 depending on your camera) keeps noise down and lets the shutter speed do the work of gathering light instead.
Use a moderate to narrow aperture for cityscapes. Something around f/8 to f/11 gives you a deep zone of sharpness across a skyline or street scene, and it also turns point light sources like streetlights into small, defined starbursts if your lens does that well.
Use a shutter release or timer. Even on a tripod, pressing the shutter button by hand can introduce a tiny shake at these longer exposures. A 2-second self-timer, a remote release, or your camera's app all solve this for free.
Balance ambient sky light against artificial lights. This is the trickiest part of blue hour metering. Streetlights, windows, and floodlit buildings are much brighter than the sky itself, especially as the light fades toward full darkness. Expose for the sky and bright lights can blow out into featureless white blobs; expose for the lights and the sky can go flat and dark. Aim for a slight underexposure that keeps some highlight detail while letting the sky read as a deep, saturated blue. Shoot in RAW, and check your histogram rather than trusting the rear screen, which tends to look brighter than the actual exposure.
If this is your first time shooting well after sunset, it's worth reading up on night photography basics too, since the two skills overlap heavily once blue hour fades into full dark.
White Balance: Keep the Blue, Don't Correct It Away
Your camera's auto white balance is built to neutralize color casts, which is exactly the opposite of what you want here. Left on auto, many cameras will try to warm up a blue hour scene, pulling out the very color that makes the shot work.
Instead, set white balance manually. A daylight preset (usually around 5200 to 5600K) renders the blue tones fairly accurately, since it isn't compensating for anything. If you want the blue to feel richer and moodier, try the tungsten or incandescent preset, which cools the image further. Shooting in RAW gives you a safety net either way, since you can adjust white balance afterward without any loss of quality. For a deeper explanation of Kelvin values and presets, see our guide to white balance and getting accurate colors.
Whatever you choose, stay consistent within a shoot so your images match if you edit them as a set later.
What to Shoot: Cityscapes and Calm Water
Blue hour flatters certain subjects more than others. Cityscapes are the classic choice: building windows and streetlights switch on right around the same time the sky turns blue, giving a natural mix of warm artificial light against a cool sky. Skylines, bridges, and busy intersections all photograph well in this window.
Calm water is the other strong pairing. Lakes, harbors, and slow rivers pick up the blue sky and reflect it back, and a long exposure smooths small ripples into a glassy, almost mirror-like surface. If there's city or bridge lighting nearby, you often get a rippled reflection of it in the water too.
Landscapes without much artificial light or reflective water tend to be less exciting at blue hour, since you lose the warm-versus-cool contrast that makes the color work. Save those scenes for golden hour instead, where the directional light does more of the heavy lifting.
Common Blue Hour Mistakes
New shooters often show up right at sunset and pack up ten minutes later, missing the actual blue hour that follows; the deepest, most saturated blue often arrives a while after the sun has visibly disappeared. Another frequent mistake is trusting the LCD screen's brightness in the dark, which leads to underexposed images that only reveal themselves on a proper monitor later, so check the histogram instead of your eyes. Finally, don't skip the tripod because "it's not that dark yet." The transition from usable handheld light to tripod-only light happens faster than it feels.
Frequently Asked Questions
Is blue hour before sunrise or after sunset?
Both. There are two blue hour windows every day, one before sunrise and one after sunset. They look similar in color, though the morning version often has calmer air and less artificial light competing with the sky.
Do I need a full-frame camera for blue hour photography?
No. A tripod, a manual or aperture-priority mode, and the ability to shoot RAW matter far more than sensor size. Entry-level cameras and even phones with a dedicated night mode can produce strong blue hour images.
How long does blue hour actually last?
It varies by latitude and season rather than a fixed number of minutes. Near the equator it can be brief; at higher latitudes, especially in spring and fall, it can stretch out considerably. Watch the sky's color rather than the clock.
Can I shoot blue hour without a tripod?
It's difficult once shutter speeds run a second or longer, which covers most of the window. Very early on, a wide aperture and a high but clean ISO can get you a handheld shot, but a tripod opens up the whole window.
Why do my blue hour photos look gray instead of blue?
This is almost always a white balance issue. Auto white balance frequently neutralizes the blue cast it was meant to preserve. Switch to a manual daylight or tungsten preset, or correct it in RAW afterward, and the color should return.