Photo Genres
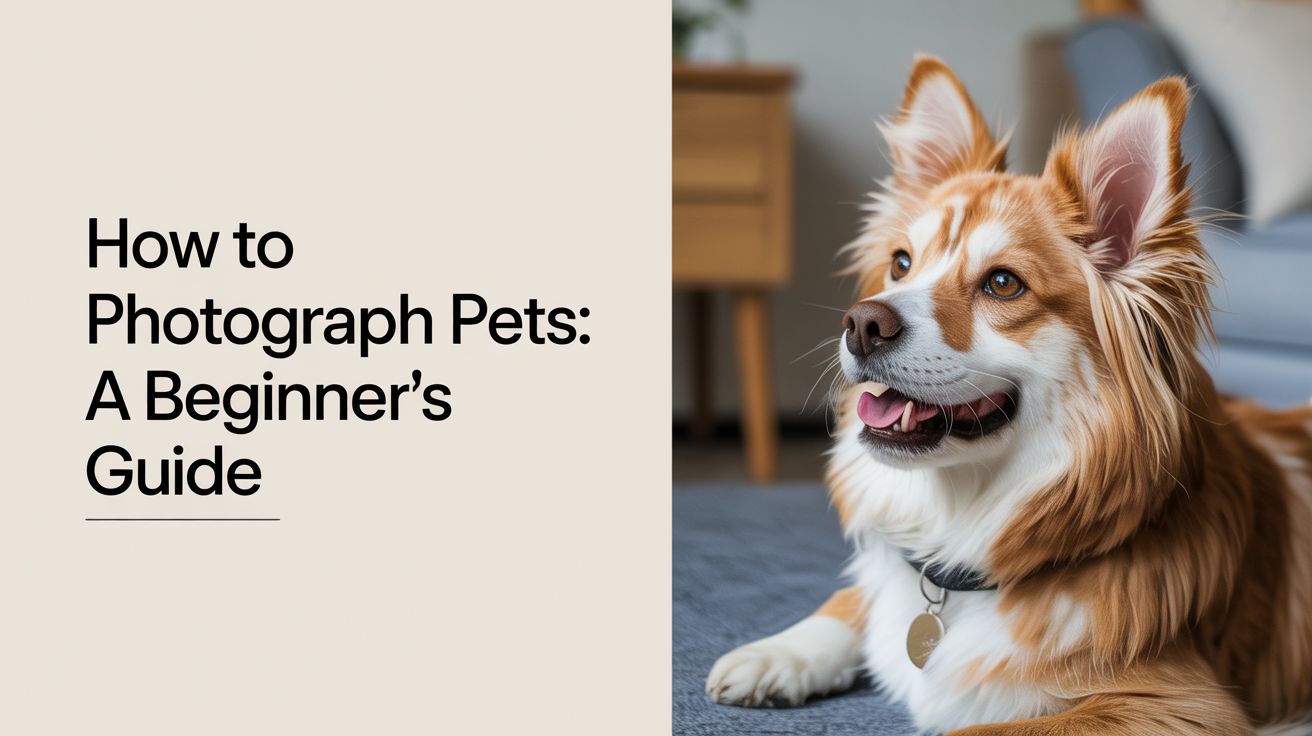
How to Photograph Pets: A Beginner's Guide
Learn pet photography tips that actually work for beginners: the right settings, how to get sharp shots of moving animals, and tricks for natural expressions.
Pets are among the most rewarding subjects in photography and among the most frustrating. They blink at the wrong moment, lunge at your lens, and refuse to look at the camera the second you raise it. But with a handful of settings adjustments and a bit of patience, you can get sharp, lively shots of your animals on a regular basis. This guide covers exactly how to get there.
Get Your Camera Settings Right First
Most blurry pet photos come from one thing: the shutter speed is too slow to freeze motion. A dog shaking its head or a cat pouncing moves faster than you expect. Before worrying about anything else, set a fast shutter speed.
A good starting rule: for a pet walking or sitting, use at least 1/500s. For a pet running or playing, go to 1/1000s or faster. Yes, that may sound extreme, but animals move quickly and forgiveness for blur is zero.
To get a fast shutter speed without making the photo too dark, do two things:
- Open your aperture wide. If your lens goes to f/2.8 or f/1.8, use it. A wide aperture lets in more light so you can use a faster shutter.
- Raise your ISO. Indoors, you may need ISO 800, 1600, or even higher. Modern cameras handle noise at these values better than you might think. A sharp photo with slight noise beats a blurry one every time.
Settings cheat-sheet:
| Situation | Aperture | Shutter Speed | ISO | Focus Mode |
|---|---|---|---|---|
| Pet sitting indoors | f/2.8 | 1/500s | 800-1600 | Single AF |
| Pet moving indoors | f/2.8 | 1/1000s | 1600-3200 | Continuous AF |
| Pet in shade outdoors | f/2.8-f/4 | 1/1000s | 400-800 | Continuous AF |
| Pet in full sun outdoors | f/4-f/5.6 | 1/2000s | 200-400 | Continuous AF |
Use Continuous Autofocus and Burst Mode
Two camera features make pet photography dramatically easier once you know about them.
Continuous autofocus (labeled AF-C on Nikon/Sony cameras or AI Servo on Canon) tells your camera to keep tracking focus as a subject moves. When you half-press the shutter on a moving dog, continuous AF keeps adjusting rather than locking onto one spot and stopping. This is the difference between a sharp eye and a smeared blur.
Single autofocus (AF-S or One-Shot) is fine for a pet sitting still. The moment they start moving, switch to continuous.
Burst mode fires multiple frames per second while you hold the shutter down. Rather than trying to time the perfect moment, you shoot a sequence and pick the sharpest frame with the best expression. Most entry-level cameras shoot 3 to 10 frames per second. Even 3 frames per second gives you far more keepers than single-shot.
To use burst mode, look for a drive mode setting on your camera, often labeled with stacked rectangles or a fast-frame icon. Set it to the highest continuous shooting speed available.
Get Down to Their Level
This one step transforms pet photos more than almost any other change. Shooting from standing height looking down at a dog gives you a photo of the top of a head. Crouch, kneel, or lie flat so the camera is at the animal's eye level.
Eye-level shots do two things. They create a sense of connection, like the viewer and the animal are meeting face to face. They also compress the background in a more flattering way, often placing it further out of focus.
If your subject is a cat on the floor, you may need to get genuinely flat on your stomach. It feels awkward the first time. The photos are worth it.
Work With the Light You Have
You do not need special pet photography lighting. What you do need is to pay attention to where the light is coming from and position your animal accordingly.
For indoor shots, natural window light is your best option. Place your pet near a large window and shoot with the window to your side or slightly in front of you, not behind you (that flattens the light) and not behind the pet (that creates silhouettes). The soft, directional quality of window light works well for animal fur and eyes.
Avoid turning on overhead room lights if you can. They often cast unpleasant shadows and create an orange color cast that is harder to fix in editing than you might expect.
Outdoors, overcast days are genuinely good for pet photography. The clouds act as a giant diffuser, giving you soft, even light without harsh shadows. Bright midday sun creates squinting eyes and blown-out fur highlights. If you are shooting in full sun, find a patch of open shade.
One thing to check in your photos: catchlights. A catchlight is the small reflection of a light source in your subject's eye. It adds life and sparkle to the eye in the final image. If your pet's eyes look flat and dark, try adjusting your angle so that the light source reflects slightly in the eye.
Practical Tips for Getting Natural Shots
The best pet photos rarely come from asking an animal to pose. They come from being ready when something natural happens.
A few approaches that work:
- Let them settle first. When you bring your camera out, many pets get excited or distracted. Give them a few minutes to lose interest in the camera before you start shooting seriously.
- Use a helper. One person holds a treat or squeaky toy just above your lens, the other watches through the viewfinder. The pet looks toward the camera without staring directly at it, and expressions stay natural.
- Shoot during their active time. Some pets are playful in the morning, sleepy in the afternoon. If you know your animal's rhythm, schedule short sessions around their more alert moments.
- Take a lot of frames. Professional pet photographers often shoot hundreds of frames in a session and keep a small percentage. That is not wasteful; that is how the work is done. Fill your card, then sort.
For dog photography tips specifically, the "name and wait" method works well. Say their name so they look up, and fire your burst the moment their ears perk and before they start moving toward you. That window is often two or three seconds. Burst mode helps you catch it.
Editing Pet Photos
You do not need complex editing for good pet photos. The three most useful adjustments in any basic editing app:
- Exposure. Brighten dark areas around the face and eyes. Pets with dark fur often photograph darker than they appear in real life.
- Clarity or texture. A small boost adds definition to fur without making the photo look over-edited.
- Crop. Getting closer in the crop, with the eyes roughly on the upper third of the frame, is the single fastest improvement for most pet portraits.
Avoid over-sharpening. Fur already has a lot of texture. Heavy sharpening can make it look crunchy and artificial.
If you want to go further with editing fundamentals, the same principles that apply to portrait photography for beginners translate well to animal subjects. You can also find the exposure and light basics in our guides to landscape photography and street photography, since reading light works the same way regardless of subject.
Frequently Asked Questions
Why are my pet photos always blurry?
Shutter speed is almost always the cause. Animals move faster than people, and a shutter speed that works for a still portrait will not freeze motion. Set your shutter to at least 1/500s and go higher (1/1000s or more) if the pet is active. Also make sure you are using continuous autofocus rather than single autofocus when they are moving.
What focus mode should I use for a running dog?
Use continuous autofocus (AF-C on most cameras, AI Servo on Canon). This keeps the camera tracking focus as the dog moves rather than locking onto a spot and losing it. Point your focus point at the dog's eye and hold it there while shooting bursts.
Can I get good pet photos with a kit lens?
Yes. A standard 18-55mm kit lens can absolutely produce good pet photos. The limitation is that kit lenses tend to have a narrower maximum aperture (f/5.6 at the long end), which means you will need higher ISO in lower light. If you photograph pets regularly and find yourself wanting more, a 50mm f/1.8 lens is an affordable upgrade that performs well in indoor light.
My pet won't look at the camera. What should I try?
A squeaky toy, a treat held just above the lens, or simply making a strange sound can get a pet to look up for a moment. Have someone hold the treat while you control the camera. The goal is a natural, curious expression rather than a stiff posed stare, so brief attention is often enough.
How do I photograph a black cat or dark-coated dog?
Dark fur absorbs light and often photographs even darker than the animal appears in person. Shoot near a window or in bright but soft outdoor light. In editing, lift the shadows and bring up overall exposure on the animal's face. A touch of added clarity helps define the fur texture without brightening it too much. Shooting against a lighter background also helps the animal separate visually from the frame.