Camera Basics
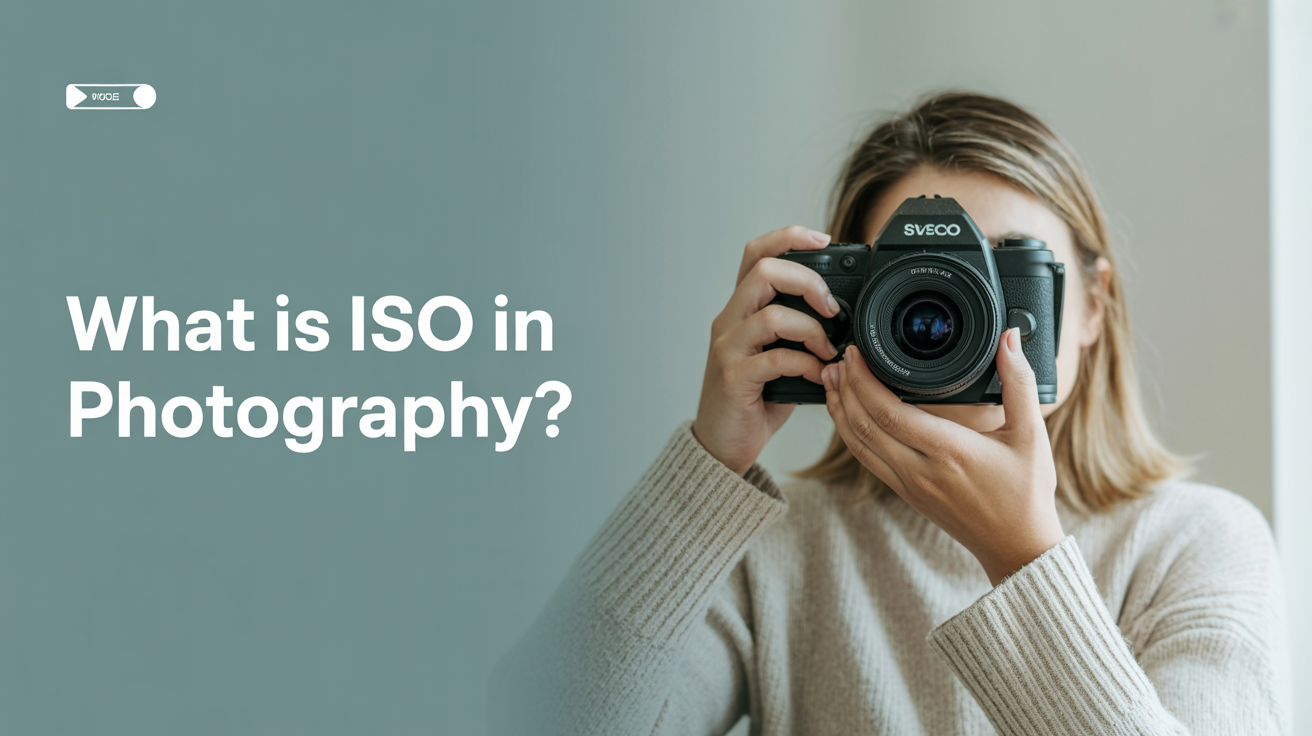
What Is ISO in Photography?
ISO controls how sensitive your camera is to light. Learn what ISO means, how the scale works, and when to change it.
If you've ever wondered why your indoor photos look grainy while your outdoor shots are crisp, ISO is a big part of the answer. It's one of the three settings that control exposure, and once you understand it, a lot of things about your camera suddenly make sense.
This guide covers what ISO is, how the numbers work, when to raise or lower it, and how it connects to the other two exposure controls. No jargon left unexplained.
What ISO Actually Means
ISO stands for International Organization for Standardization, but the name isn't what matters. In practical terms, ISO controls how sensitive your camera's sensor is to light.
A low ISO means the sensor is less sensitive. It needs more light to produce a properly exposed image, but it does so cleanly, with fine detail and smooth tones. A high ISO means the sensor is more sensitive. It can capture images in dim conditions, but it amplifies the signal, which also amplifies electronic noise.
Think of it like a microphone. Turn the gain up too high and you hear static along with the voice. Your camera sensor works the same way.
The ISO Scale
Camera ISO settings follow a doubling pattern. Each full stop doubles the sensitivity and the brightness of the image:
| ISO Value | Typical Scene | Expected Image Quality |
|---|---|---|
| 100 | Bright outdoor sunlight | Excellent, very low noise |
| 200 | Overcast daylight or shade | Excellent |
| 400 | Indoor with good window light | Very good |
| 800 | Indoor artificial light | Good, slight noise visible at 100% |
| 1600 | Dim indoor or dusk | Noticeable noise, still usable |
| 3200 | Dark indoor, street at night | Visible grain, acceptable for web |
| 6400+ | Very dark scenes | Heavy noise, use when needed |
Most cameras today go from ISO 100 up to ISO 6400 or beyond. Some go to 51200 or higher. The higher numbers are there for emergencies, not everyday use.
Base ISO and Why It Matters
Every camera has a base ISO, usually 100 or 200. This is the sensor's native sensitivity setting, the one that produces the best dynamic range (the difference between the lightest and darkest areas it can capture) and the cleanest, sharpest files.
When you raise ISO above the base value, the camera amplifies the sensor output electronically. That amplification produces noise, also called grain. It shows up as random speckles, especially in shadows and flat areas like skies or walls.
So, as a general rule: use the lowest ISO that still gives you a usable shutter speed and aperture. Your images will be cleaner, and you'll have more to work with in editing.
When to Raise ISO
Low-light situations are the main reason to increase ISO. Here are some real-world examples of where you'd push it up:
- Shooting inside a restaurant at dinner: ISO 800 to 1600 is normal.
- A school play or sports event under gymnasium lights: ISO 1600 to 3200.
- Handheld street photography at night: ISO 3200 or higher.
- Astrophotography of stars (non-tracked): ISO 1600 to 6400 depending on your lens.
The rule is simple. If raising ISO is the only way to get a sharp, properly exposed shot, raise it. A noisy photo of the moment beats a perfectly clean photo of nothing because the shutter speed was too slow and everything blurred.
There are also situations where you'd raise ISO even in decent light. If you need a very fast shutter speed to freeze a moving subject, like a bird in flight or a child running, and the light isn't quite bright enough with your lens wide open, bumping ISO up a stop or two solves the problem cleanly.
When to Keep ISO Low
If light is plentiful and you're not chasing a fast subject, stay at base ISO. Landscape shots in golden hour, portraits on a bright patio, product photography with studio lights. In these situations, ISO 100 gives you maximum quality.
Also keep ISO low if you're shooting with a tripod and can afford a slower shutter speed. A two-second exposure in a dim room at ISO 100 will almost always look cleaner than a 1/60 exposure at ISO 3200.
Auto ISO: When It Helps and How to Control It
Most cameras offer Auto ISO, where the camera picks the sensitivity based on available light. For beginners this is a genuinely useful setting. It frees you to set aperture and shutter speed manually while the camera handles the brightness.
The important thing is to set a maximum ISO limit. Without a cap, some cameras will happily shoot at ISO 25600, and the results are not pretty. A reasonable ceiling for most cameras is ISO 3200 or 6400. Check your camera menu for an "ISO Auto Max" or "ISO Limit" setting and put a ceiling there.
Some cameras also let you set a minimum shutter speed within Auto ISO, which tells the camera not to drop below, say, 1/125 before it starts raising ISO. That's a useful combination for handheld shooting.
ISO and the Exposure Triangle
ISO doesn't work in isolation. It's one leg of the exposure triangle, alongside aperture (the size of the lens opening) and shutter speed (how long the sensor is exposed to light). All three control how bright or dark your final image is, and they all interact.
If you want a full picture of how these three work together, The Exposure Triangle Explained for Beginners covers it end to end. And if you're still getting comfortable with the other two settings, What Is Aperture? A Beginner's Guide to f-Stops and Shutter Speed Explained for Beginners are good places to go next.
The short version: if you lower your shutter speed (letting more light in over time), you might be able to use a lower ISO. If you open your aperture wider, same idea. ISO is often the last dial you turn, after you've maxed out what aperture and shutter speed can do.
A Practical Starting Point
When you're learning, a simple approach works well. Start every session with ISO 100 or 200. If you're shooting somewhere darker and your images are coming out underexposed (too dark) or blurry from motion, raise ISO by one stop at a time until you get the result you need. Check the image quality as you go.
Over time, you'll develop a feel for which ISO is right for a given environment. A room lit by a single lamp? You'll automatically reach for ISO 1600. Bright beach midday? ISO 100 without thinking.
That instinct builds quickly with practice.
Frequently Asked Questions
Does a higher ISO make my camera better in low light?
A higher ISO lets your camera produce a usable exposure in dim conditions, but it also introduces noise. Whether the result is "better" depends on how much noise your camera produces at high ISO values. Newer sensors handle high ISO more cleanly than older ones, but no camera produces noiseless images at ISO 6400.
What is the best ISO for beginners to use?
Start at ISO 100 whenever there's enough light. Move to ISO 400 for shade or indoor natural light. Go to ISO 800 or 1600 for artificial indoor light. The goal is always to use the lowest value that still gets you a sharp, properly exposed image.
Is ISO the same as film speed?
Very close. Film speed (also expressed in ISO numbers, like ISO 400 film) described how sensitive a film emulsion was to light. A faster film could shoot in lower light but had more grain. Digital ISO mimics that behavior, with sensor amplification standing in for grain-prone emulsion chemistry. The numbers and the tradeoffs are directly comparable.
Will Auto ISO ruin my photos?
Not if you set a maximum limit. Auto ISO with a sensible ceiling is a practical tool, especially in changing light. The mistake is leaving it uncapped or not paying attention to what value the camera is choosing.
Why does my photo look fine on my camera screen but grainy on my computer?
Camera screens are small and often optimized to make images look good. Noise becomes obvious when you view photos at full size on a larger monitor. If ISO noise is a problem, consider shooting at a lower ISO or processing the raw file with noise reduction software.