Editing
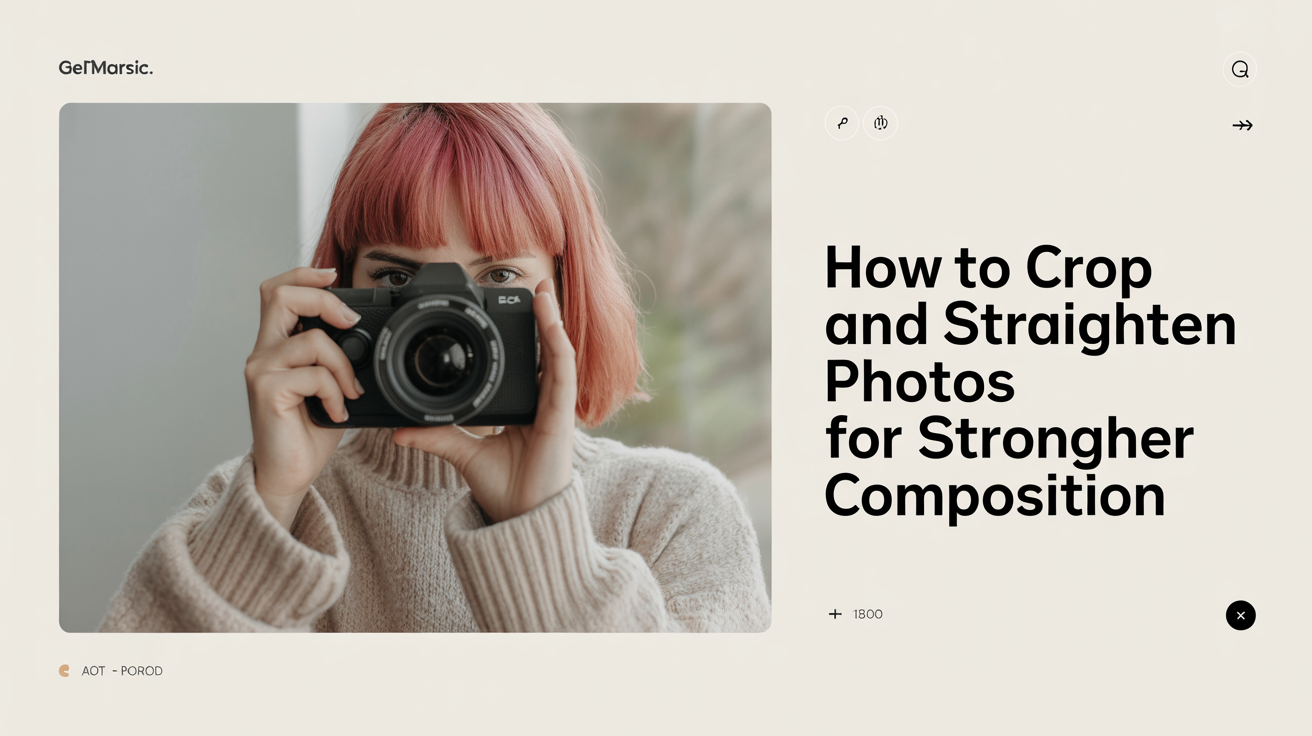
How to Crop and Straighten Photos for Stronger Composition
Learn how to crop photos for stronger composition and fix crooked horizons. A practical guide for beginners covering aspect ratios, grids, and more.
You pressed the shutter at the right moment, but something about the final image feels off. Maybe the horizon tilts, or your subject sits awkwardly near the edge. Learning how to crop photos and straighten them is one of the fastest ways to rescue a good shot and turn it into a great one.
This guide walks through everything a beginner needs: fixing skewed horizons, using crop grids to guide placement, understanding aspect ratios, and knowing when to stop cropping before you lose too much quality.
Straighten First, Then Crop
Most editing software (Lightroom, Capture One, Darktable, even your phone's built-in editor) keeps the straighten and crop tools in the same panel. That's no coincidence. The order matters.
Fix the horizon before you reframe. When you rotate an image to straighten it, the software has to trim the corners to keep the frame rectangular. If you crop first and then rotate, you may accidentally cut into something you wanted to keep.
How to spot a crooked horizon
Tilt is obvious over open water or flat plains. It's sneaky in street photos or portraits where there's no clear horizontal reference. Look at window frames, tabletops, or the tops of buildings in the background. If those lines run diagonally across the frame, the image needs straightening.
Most tools give you two options:
- Manual rotation. Drag a slider or rotate a dial until the line you're watching looks level.
- Auto-straighten. The software analyzes the image and makes its best guess. This works well for clear horizons and badly for busy scenes. Always check the result.
Vertical lines count too
A tilting horizon is easy to notice. Leaning verticals are subtler. Hold your phone slightly upward to photograph a building and the walls appear to converge at the top (this is called keystoning). Basic crop tools can rotate a photo but can't fully correct perspective distortion. That requires a separate lens correction or transform panel. For now, just know the limitation exists and watch for it.
Using the Crop Grid to Reframe Your Shot
Once your image is straight, it's time to reframe. Every crop tool shows a grid overlay while you drag. Learn to use it.
The rule of thirds in practice
The default grid divides the frame into nine equal rectangles using two horizontal and two vertical lines. Place your main subject near one of the four intersections where those lines cross. Put the horizon on the upper or lower horizontal line rather than dead center.
This isn't a law. Centered compositions work beautifully for symmetry and portraiture. But when a photo feels unbalanced, ask yourself whether moving the subject to a thirds intersection fixes it. It often does.
Removing distractions at the edges
Before you drag a crop handle, scan the edges of your frame. A telephone pole clipping the left side, a stranger's shoulder in the corner, a blown-out patch of sky in the top right. These small intrusions pull the viewer's eye away from your subject. Cropping in just enough to eliminate them can dramatically sharpen the focus of an image.
Cropping for composition is really cropping for attention. You're deciding what stays and what disappears.
Aspect Ratios Explained
An aspect ratio describes the relationship between a photo's width and its height. Your camera records images at a fixed ratio (usually 3:2 for most DSLRs and mirrorless cameras, 4:3 for many compacts and phones). When you crop, you can lock to that original ratio, choose a new one, or crop freely with no constraint.
Here's a quick reference for the ratios you'll encounter most:
| Aspect Ratio | Shape | Best Uses |
|---|---|---|
| 3:2 | Slightly wide rectangle | Standard camera output, prints at 4x6 or 6x9 inches |
| 4:3 | Moderate rectangle | Phone screens, tablets, 8x10 prints |
| 1:1 | Perfect square | Instagram grid posts, product photos |
| 4:5 | Tall rectangle | Instagram portrait posts, phone-friendly verticals |
| 16:9 | Wide rectangle | YouTube thumbnails, TV displays, desktop wallpapers |
| 5:4 | Nearly square | 8x10 prints (slight variation on 4:3) |
Lock your ratio when cropping for a specific destination. If a print shop wants an 8x10 (which is a 5:4 ratio), crop at 5:4 or you'll get unexpected white borders or automatic trimming. For Instagram portrait posts, lock to 4:5. For a YouTube thumbnail, 16:9.
When you're just editing for personal use or the web without a fixed output size, cropping freely is fine. Focus on what looks right, not on hitting a number.
Cropping Costs Resolution
This part beginners often skip, and it matters. Every time you crop, you throw away pixels. A 24-megapixel image cropped to 50% of its original area becomes a 6-megapixel image. That's still plenty for social media and screen use, but it's noticeably softer when printed large.
A few practical limits to keep in mind:
- For social media and web use, you can crop quite aggressively. Most platforms display images at under 2 megapixels.
- For printing at 8x10 or larger, try to keep at least 8 to 10 megapixels after cropping.
- If you shoot in RAW format rather than JPEG, you're starting with more data, which gives you a bit more room to crop before quality noticeably drops.
Zoom with your feet when you can. A tighter shot in-camera is always cleaner than a heavily cropped one.
Platform-Specific Cropping
Different destinations have different needs. Here's a quick cheat sheet:
Instagram feed (square): Crop to 1:1. Classic, versatile, fills the grid thumbnail cleanly.
Instagram feed (portrait): Crop to 4:5. You get more screen real estate when someone scrolls, and it still fits the grid without being cut off.
Instagram Stories or Reels: Crop to 9:16 (vertical 16:9). Fill the whole phone screen.
Facebook and Twitter/X headers: Wide banners around 16:9 or wider. Check current platform specs because they change.
Print: Match the print size ratio as closely as possible before sending to the lab. Most labs accept small variations and will show you a preview before printing.
Cropping for different platforms is less about art and more about not having the platform auto-crop your subject's face out of the thumbnail. Do it yourself so you're in control.
The Urge to Over-Crop
Cropping is addictive. The photo looks better after a small crop, so a bigger crop must look even better. This logic breaks down fast.
Over-cropping leads to three common problems:
- Loss of context. A portrait cropped so tight that you can't see the subject's environment loses the story. Where are they? What are they doing? Some breathing room matters.
- Quality loss. The resolution penalty compounds quickly with aggressive crops.
- Proportional awkwardness. A head cropped just above the chin or just below the hairline looks uncomfortable. When cropping a person, leave generous space above the head and avoid cutting at natural joints (wrists, knees, ankles).
A good crop removes what's unnecessary without removing what's meaningful. When you're unsure, compare the cropped version with the original at full size. Sometimes the original is stronger.
Putting It Together in Your Workflow
Straightening and cropping sit early in a typical edit. Fix technical problems first (straighten, exposure, white balance), then make compositional decisions (crop and reframe), then move to color and detail work.
If you're building a consistent editing process, a simple photo editing workflow for beginners explains how all these steps fit together from import to export. And once your composition is locked, you'll often find that fixing exposure and white balance is the next logical step before you're done.
Frequently Asked Questions
Does cropping reduce photo quality?
Yes. Cropping removes pixels, which reduces the resolution of the final image. The effect is small for moderate crops and becomes significant if you crop aggressively. For social media and web use this rarely matters, but for large prints it can result in a softer image.
Should I straighten before or after I crop?
Straighten first. When you rotate a photo to fix a crooked horizon, the software clips the corners to keep the frame rectangular. If you've already cropped tightly, that clipping may remove parts of the scene you wanted to keep.
What aspect ratio should I use for Instagram?
For Instagram feed posts, 1:1 (square) and 4:5 (portrait) are the most common. The 4:5 ratio takes up more screen space when someone scrolls, which tends to get more attention. For Stories and Reels, use 9:16 (full vertical).
Is there a rule about how much to crop?
There's no strict rule, but a useful guideline is to crop only until you've removed what's distracting, then stop. If you're tempted to crop further just because the subject looks bigger, consider whether you're also removing useful context. Also keep resolution in mind if you plan to print.
Can I undo a crop later?
In non-destructive editors like Lightroom, Capture One, and most phone editing apps, yes. The original file is never changed. You can reopen the crop tool and adjust or reset it at any time. In destructive editors (like basic photo viewers that save over the file), the original pixels are gone once you save. When in doubt, export a copy rather than saving over the original.