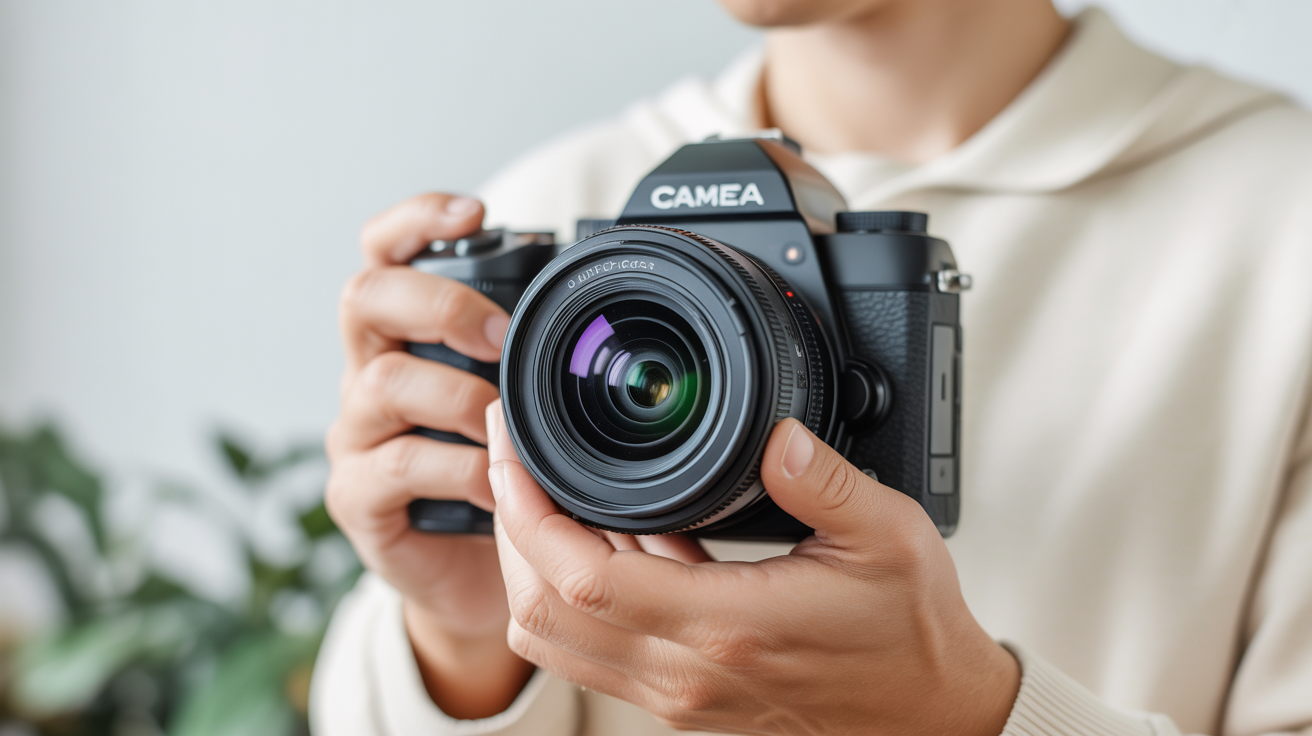
Camera Basics
Camera Focus Explained: Autofocus Modes and Focus Points
Learn how camera autofocus modes and focus points work, which AF mode to use for different subjects, and how to take sharp photos every time.
Blurry photos are one of the most common complaints from beginners, and more often than not the problem is focus, not camera shake. Getting a grip on how to focus a camera, specifically which AF mode to choose and where to place your focus point, fixes the majority of those shots.
This guide explains the main camera autofocus modes, how focus points work, and which settings to reach for depending on what you are shooting.
How Autofocus Actually Works
Your camera focuses by moving glass elements inside the lens until the contrast or phase information it reads from the sensor peaks at a certain distance. When the reading is at its sharpest, the camera locks focus and typically signals this with a beep or a lit indicator in the viewfinder.
Two technologies underpin most AF systems today:
- Phase-detection AF (PDAF): Splits incoming light and compares two micro-images. The camera can tell in one reading which direction the lens needs to move and by how much. PDAF is fast and predictable, which is why it handles moving subjects well.
- Contrast-detection AF: Rocks the lens back and forth until contrast peaks. Slower, but often very precise for static subjects. Many mirrorless cameras blend both methods for speed and accuracy.
You do not need to know the hardware in detail. What matters is understanding the two main controls the camera hands you: the AF mode (how the camera behaves over time) and the focus point (where in the frame it looks).
Autofocus Modes Explained
Camera menus label these differently across brands, but the underlying logic is consistent. You will usually find three core AF modes.
Single AF (One-Shot / AF-S)
The camera focuses once when you half-press the shutter, then locks. Press the shutter fully and it takes the shot at that locked distance. If the subject moves after the lock, you need to half-press again.
Good for: portraits, landscapes, architecture, food, product shots. Anything that holds still.
Starting setting: this is the mode to default to when you are learning. It gives you clear confirmation that focus has locked before you commit to the shot.
Continuous AF (AI Servo / AF-C)
The camera keeps adjusting focus for as long as you hold the shutter half-pressed. When the subject moves, the lens follows it. You press fully at the moment you want to capture.
Good for: sports, wildlife, moving vehicles, children who will not stay put.
One trade-off: because the system keeps hunting, you occasionally get a misfocused frame if the subject reverses direction quickly. Burst mode alongside continuous AF helps here since you have multiple frames to choose from.
Automatic AF (AI Focus / AF-A)
The camera starts in single mode and switches to continuous if it detects movement. The logic works reasonably well for casual situations but can be inconsistent.
Good for: situations where you are genuinely unsure whether the subject will move, such as a pet that might stay still or might dash off.
For dedicated action shooting, switch to continuous deliberately rather than relying on automatic switching.
Autofocus Points Explained
Focus points are the small brackets or squares you see through the viewfinder or on the live-view screen. Each one is a spot the camera can use to measure and set focus. Entry-level cameras might have 9 points; mid-range and advanced bodies can have dozens to several hundred.
You control which points are active. The three standard options:
Single Point
You pick one specific point and the camera focuses only where that point sits. This gives you precise control over what the camera locks onto, which is critical for subjects that are not in the centre of the frame.
How to use it: move the active point over your subject using the directional pad or joystick on the back of the camera, then half-press to lock. On many cameras you can also focus-and-reframe: lock focus on a centred subject, keep the shutter half-pressed, then recompose.
Single point is the recommended starting position for most beginners.
Zone / Group AF
You activate a cluster of adjacent points. The camera focuses on whatever is closest to the camera within that zone. Useful when a subject is moving but staying within a predictable area of the frame, such as a runner coming toward you down a fixed lane.
Wide / All-Points Auto
Every focus point is active and the camera decides where to focus, usually defaulting to the nearest subject or whatever face it detects. Convenient for snapshots, but it can focus on the wrong thing entirely, particularly if something passes between you and your actual subject.
Face and eye detection, now common on mirrorless cameras, is a smarter version of this. The camera finds a face and locks the active point onto the nearest eye automatically.
How to Choose AF Mode and Focus Point
This quick reference covers the most common shooting situations:
| Subject | AF Mode | Focus Point |
|---|---|---|
| Portrait (still person) | Single AF | Single point on nearest eye |
| Street scene | Single AF | Single point |
| Landscape | Single AF or Manual | Single point on area you want sharp |
| Sports / action | Continuous AF | Zone or wide |
| Wildlife | Continuous AF | Zone or eye-detect if available |
| Close-up / macro | Single AF | Single point (manual often more reliable) |
| Low-light interior | Single AF | Centre point (most sensitive) or manual |
Notice that single-point AF appears in most situations. Getting comfortable placing a single point on exactly what you want sharp will improve your keeper rate more than any other habit.
Manual Focus and When to Use It
Autofocus is not always the right choice. Situations where switching to manual focus (MF) helps:
- Low contrast subjects: a plain white wall, a foggy scene, a clear glass surface. AF systems struggle where there is little contrast to lock onto.
- Shooting through glass or a fence: the camera tends to focus on the obstacle rather than what is behind it.
- Close-up or macro work: at very close distances, depth of field becomes razor thin and even small AF hunting movements matter.
- Video: AF can pulse visibly during recording as the lens breathes in and out searching for lock.
To focus manually, flip the AF/MF switch on your lens (most lenses have one) and turn the focus ring until the subject looks sharp. Live view with magnification makes this much easier to judge.
Practical Tips for Sharper Focus
- Half-press first, shoot second. Wait for the focus confirmation indicator before pressing the shutter fully. Rushing this step is the leading cause of soft shots.
- Put the focus point on your subject's eye. In portraits especially, if the eye is sharp, the rest of the face reads as sharp even if it falls slightly out of plane.
- Match AF mode to subject movement. Still subject = single AF. Moving subject = continuous AF. Switching takes two seconds and makes a big difference.
- Use burst mode with continuous AF for action. A sequence of frames gives you options; you delete the misses and keep the one where everything aligned.
- Check focus at 100% on your computer. Camera screens are small and can fool you into thinking a frame is sharp when it is not. Zoom in to the eyes or the intended point of sharpness before deciding a keeper is a keeper.
Getting comfortable with focus also connects directly to understanding aperture and shutter speed, since both affect how forgiving or unforgiving your depth of field and motion blur will be. For broader context on how all three exposure controls interact, see the exposure triangle explained.
Frequently Asked Questions
What is the difference between AF-S and AF-C? AF-S (also called One-Shot or Single AF) locks focus once when you half-press and holds it there. AF-C (also called AI Servo or Continuous AF) keeps adjusting focus for as long as you hold the shutter half-pressed. Use AF-S for still subjects, AF-C for subjects in motion.
Why does my camera focus on the background instead of my subject? This usually happens when you have too many focus points active and the camera picks something closer to the camera or higher in contrast than your intended subject. Switch to single-point AF and place that point directly on your subject.
How do I focus on something that is off-centre? Two options: move the active focus point to where your subject sits using the directional pad or joystick, or use focus-and-reframe (lock focus on your subject while it is centred, keep the shutter half-pressed, then recompose before shooting fully). The first method is more reliable, especially with a wide aperture where depth of field is shallow.
Why does my camera struggle to focus in dim light? AF systems need contrast to work. In low light, contrast drops. The centre focus point is usually the most sensitive on any camera body, so switching to single-point and using the centre point helps. Some cameras also have an AF-assist beam that projects a pattern of light to give the system something to lock onto.
When should I focus manually? Manual focus is worth learning for close-up work, shooting through obstacles, low-contrast scenes, and video where AF hunting would show up on screen. Many photographers also prefer manual focus with a wider prime lens on a tripod for landscape and architectural work, since they can magnify the live view and place focus with precision.